
Our little Leslie is in Kindergarten this year. We have been using Abeka materials for her, and I think her favorite subject is art! I wanted to share some of the art projects she’s gotten to make for Thanksgiving.
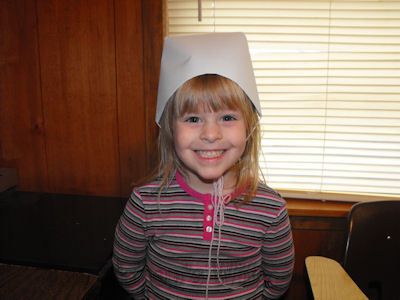
My little pilgrim girl! 🙂 This hat is from the ABeka art book.
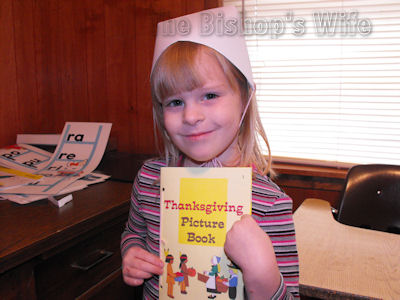
Another ABeka project, her “Thanksgiving Picture Book”. It tells the story of Thanksgiving (obviously) and has the child draw something for which they are thankful on the last page. (I don’t know why this photo is purple…probably because I’m a terrible photographer!)
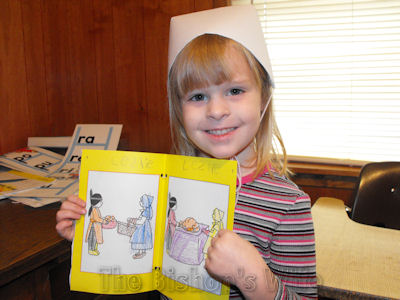
Tada! 🙂
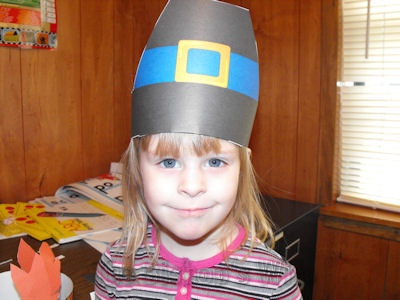
Leslie in the pilgrim hat (for boys, but hey, we hated to just leave it in the book.). Any 5 year old boys out there (with small heads) who would like a pilgrim hat?
The last project was the most fun! It was making an Indian vest out of a brown paper sack! When we started to make it, I thought “You know, I should photograph this and share it with other home schooling moms out there!” All you need is a brown paper grocery sack and some colors, markers or paints. If you desire to photograph your vest, please be sure you do it on a very cluttered surface, just like I did. lol! 🙂
Indian Vest – Perfect for Thanksgiving!
(Photos below each written step)
Step 1: Cut the bottom off the sack, so it looks like this:
(Yes, this is an Aldi sack. No, we don’t have an Aldi here. I haven’t been to Aldi in five years. Yes, I actually kept this sack for that long.)

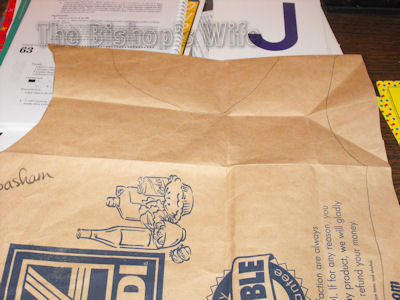
Step 2: Spread out and flatten the tube of the sack. Draw and then cut the vest, making the top of the vest on one of the closed ends. In the photo below, I had already cut the left hand side of the sack before it dawned on me that I hadn’t photographed the vest I drew! Not that it was a masterpiece or anything, but I wanted to show you kinda how to do it. So, here’s a photo of a partial drawing/cutting. Sorry. Hope you get the idea of how to draw from this. And please ignore the letter J – it is not there for any specific reason, other than the fact I just left it there.
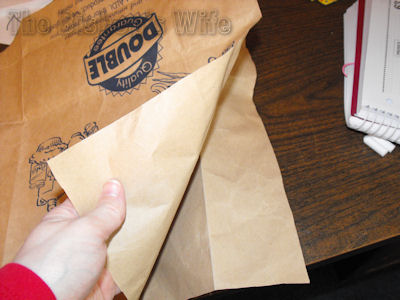
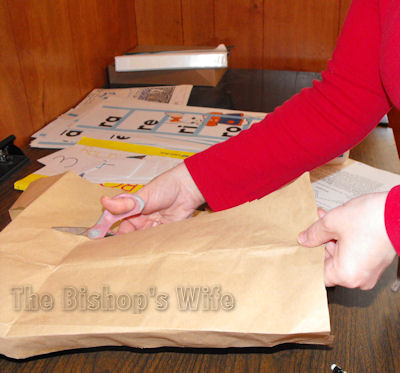
Step 3: After you have cut out the shape of the vest, cut the bottom open, like so:
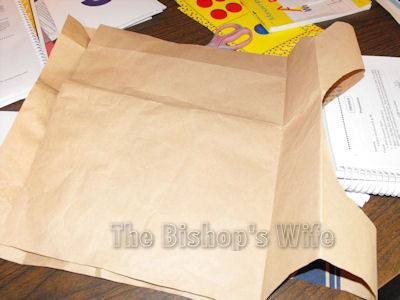
Step 4: After you cut the bottom open, you will be able to turn the vest wrong side out, so that you no longer see the commercial printing.
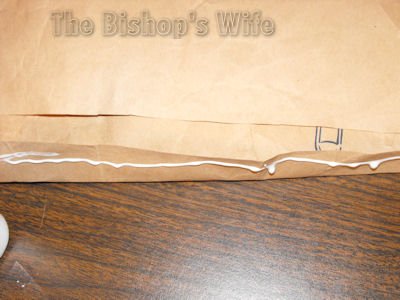
Step 5: Once you’ve turned it wrong side out, glue or staple the sides together. Be sure you get a photo of the glue running down onto your desk!
Step 6: After gluing sides together, cut open the center front of the vest.
Step 7: Cut fringe at the around the bottom, approximately 1/2 inches wide.

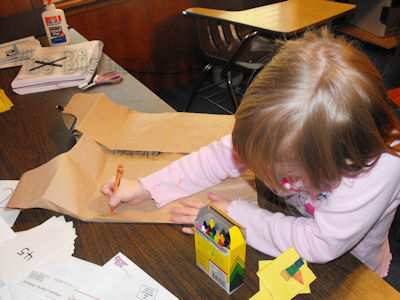
Step 8: Ask an adorable child near you to decorate the vest with crayons, markers, glitter, paint – tell them to go wild! After all, your desk is already cluttered, so what’s a little bit more?
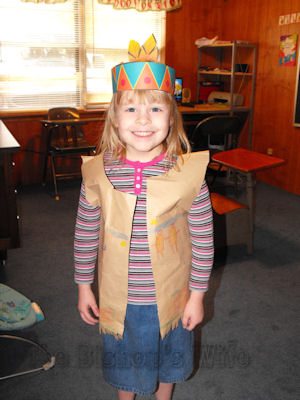
Finally, have the child model the vest. The Indian headband was made from the ABeka art book materials.
Do you have special projects you do with your family this time of year? I’d love to hear about them. Please comment and link to your blog or tell me about them!
Enjoying Thanksgiving crafts and clutter,


Love the photos. Stephen made a vest and headband as well this week. He has been eating all his meals on his fall placemat. 🙂 This year we are using the leftover K-5 crafts and the 1st grade crafts left from Andrew.
See you soon!!!
Melanie
LikeLike